 Store Location
 Track Order



How To Repair Damaged Pine Log Siding
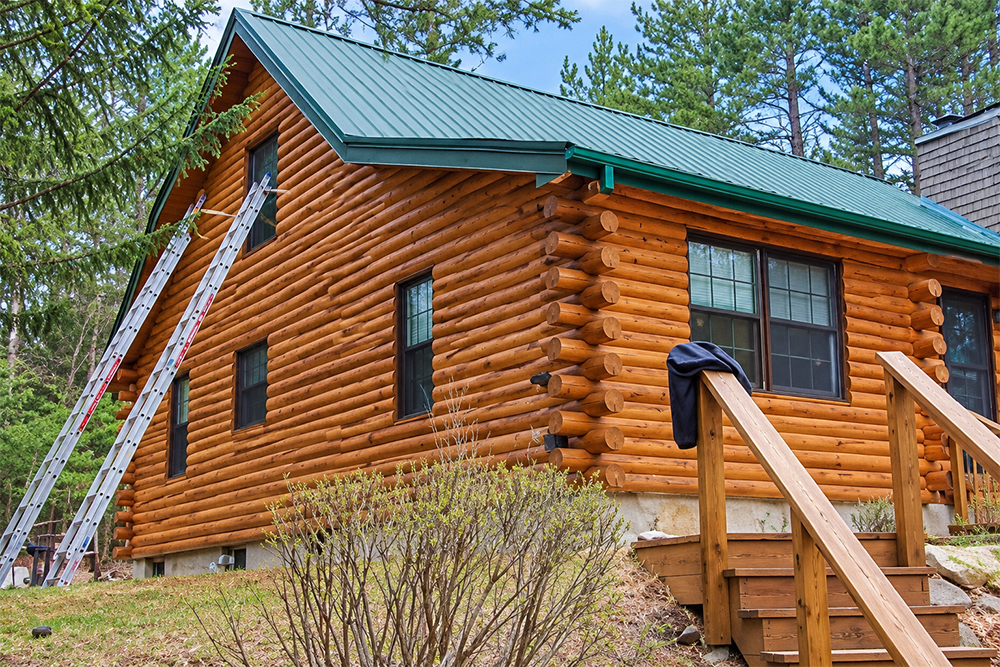
Log home siding walls are strong and durable, but they are not exempt from some types of damage. To repair your damaged log siding, choose the right method based on whether the damage is a minor surface crack, a localized rotted section, or a deeply compromised board.
Tools and Materials Needed To Repair Pine Log Siding
If you have one or more damaged pieces of pine log siding, decide if you want to repair it or let a carpenter do the work. Either way, you will need several tools and replacement siding to complete the repair, depending on the extent of the repair needed:
- Pry bar, utility knife, and wood chisel
- Circular saw or multi-tool
- Exterior-grade epoxy wood filler or two-part liquid epoxy
- Borate wood preservative or wood hardener
- Replacement pine log siding piece
- Galvanized or stainless-steel exterior nails (or Oly screws)
- Exterior-grade stain, or clear wood sealer
Before installing the new siding, apply some stain to the back of the new siding to see how well it matches the existing color. If it isn’t a good match, contact your stain supplier about mixing colors to blend in with the established siding. For the best repair work results, select a warmer day with no chance of rain or snow to ensure the siding is not exposed to moisture.
Method 1: Repairing Minor Cracks and Small Holes (Under 2 Inches Deep)
 Minor cracks and small holes in pine log siding are the easiest damage to repair. Follow these steps to professionally correct the issues:
- Clean the Area: Use a wire brush or scraper to remove loose dirt, old flaking paint, or decayed wood fibers from the crack or hole. Blow off debris with a leaf blower or vacuum it.
- Apply Wood Hardener: Brush a liquid wood hardener or borate treatment into the clean wood to stop fungal growth and firm up the fibers.
- Fill the Damage: Press a waterproof exterior wood filler or two-part epoxy wood putty firmly into the cavity using a putty knife. Leave it slightly mounded, as epoxy shrinks very little and can be sanded down.
- Sand and Finish: Once cured, sand the patch flush with the surrounding log texture. Stain the repaired area to match the rest of the siding.
“Log home siding walls are strong and durable, but they are not exempt from some damage.”
Method 2: Patching or Replacing Rotted Siding Sections
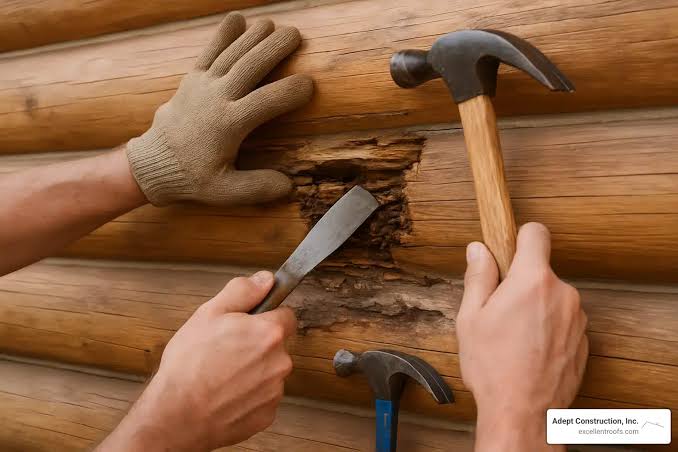 Your damage may need patching or replacing a few sections of rotted siding, rather than full-length boards, cracks, or small holes. This is more work than method one and requires using the same siding profile as the existing siding. Test the stain on the back of the new siding to see if it matches. If it does not match, lighten or darken it.
- Assess and Cut Out Rot: Inspect the log siding for soft, spongy, or hollow-sounding areas. Cut out all rotted or waterlogged wood using a multi-tool, chisel, or circular saw. Never cover active rot with a new patch or layer.
- Treat the Substrate: Paint or spray the exposed underlying framing and clean wood edges with a borate-based wood preservative to prevent future mold or insect decay.
- Fit the Replacement Piece: Cut a replacement piece of pine log siding to match the exact profile and length of the removed section.
- Fasten and Seal: Secure the new piece with exterior-grade galvanized or stainless steel screws/nails driven into the structural studs. Fill screw or nail heads with exterior putty.
- Caulk and Coat: Apply paintable exterior caulk or chinking around the perimeter joints to block moisture, then finish with a matching exterior stain, sealer, or paint
Method 3: Repairing Deeply Compromised Full-Length Siding Boards
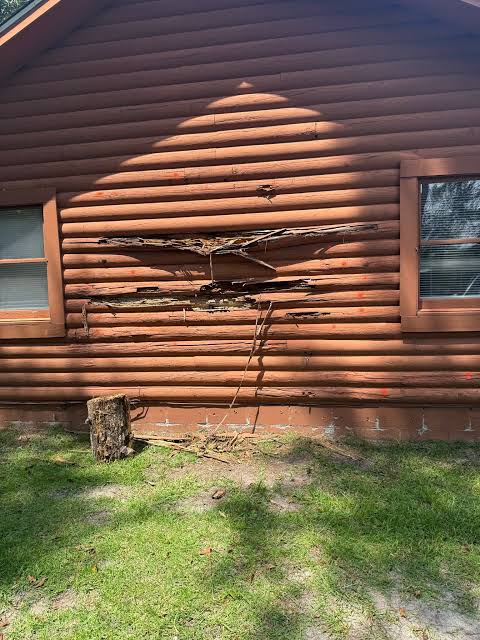 To repair or replace deeply compromised full-length tongue-and-groove log siding boards, full-board replacement is required instead of surface patching. Wood rot or heavy structural damage deeper than 2 inches cannot be reliably filled. Use this step-by-step replacement:
Cut Out the Damaged Board
- Set Your Saw Depth: Adjust your circular saw or oscillating multi-tool to match the exact thickness of the siding board so you do not cut into the house wrap (Tyvek) or sheathing underneath.
- Make Relief Cuts: Make a lengthwise cut down the middle of the damaged board. If it is wedged tightly, make a second parallel cut about 1/2-inch away, and pull out the narrow center strip to relieve pressure.
- Free the Edges: Use a pry bar or chisel to gently release the pieces without crushing the good tongue-and-groove edges of the surrounding healthy siding.
- Handle Nails: Cut through hidden or face-driven nails using a metal-cutting multi-tool blade rather than aggressively prying, which can split adjacent boards. Clean out all rotted debris and old nail fragments from the cavity.
Prepare the Replacement Board
- Match Dimensions: Obtain a replacement tongue-and-groove log siding board that matches the profile and thickness of the original.
- Modify the Groove (for mid-run insertion): Because you cannot easily interlock a standard tongue-and-groove board into an existing tight field, use a table saw or circular saw to rip off (cut away) the back lip/half of the groove side on the replacement board. This allows the board to slide or tilt straight into place.
- Dry Fit: Test-fit the new piece. If it is slightly too long, trim or bevel the end slightly to leave a tiny expansion gap (under 1/8 inch).
Install the New Board
- Position and Lock: Slip the modified board into the interlocking tongue of the lower course, then gently roll or press the top into position.
- Conceal Fasteners: Nail diagonally through the upper tongue at a 45-degree angle (blind nailing) using corrosion-resistant stainless steel or galvanized screws or nails so fasteners are hidden. If face-nailing is unavoidable, countersink the nails slightly.
- Seal Seams: Apply a high-grade, stainable exterior acrylic or epoxy caulk along all vertical and horizontal butt joints to keep moisture out.
- Stain the Wood: Stain the bare wood to match the rest of the siding.
- Address the Root Cause: Always fix poor drainage, leaking gutters, or missing roof overhangs first, so the new wood will not rot.
In conclusion, assess your siding damage, gather the required tools and materials, and correct the issue if you have the knowledge and skills. If you are not prepared to do the work, hire a carpenter or contractor to complete the project. The Log Home Shoppe can supply you with pine log siding, corners, and trim to build a log home and repair damaged siding.


