 Store Location
How To Install Trim For Knotty Pine Paneling
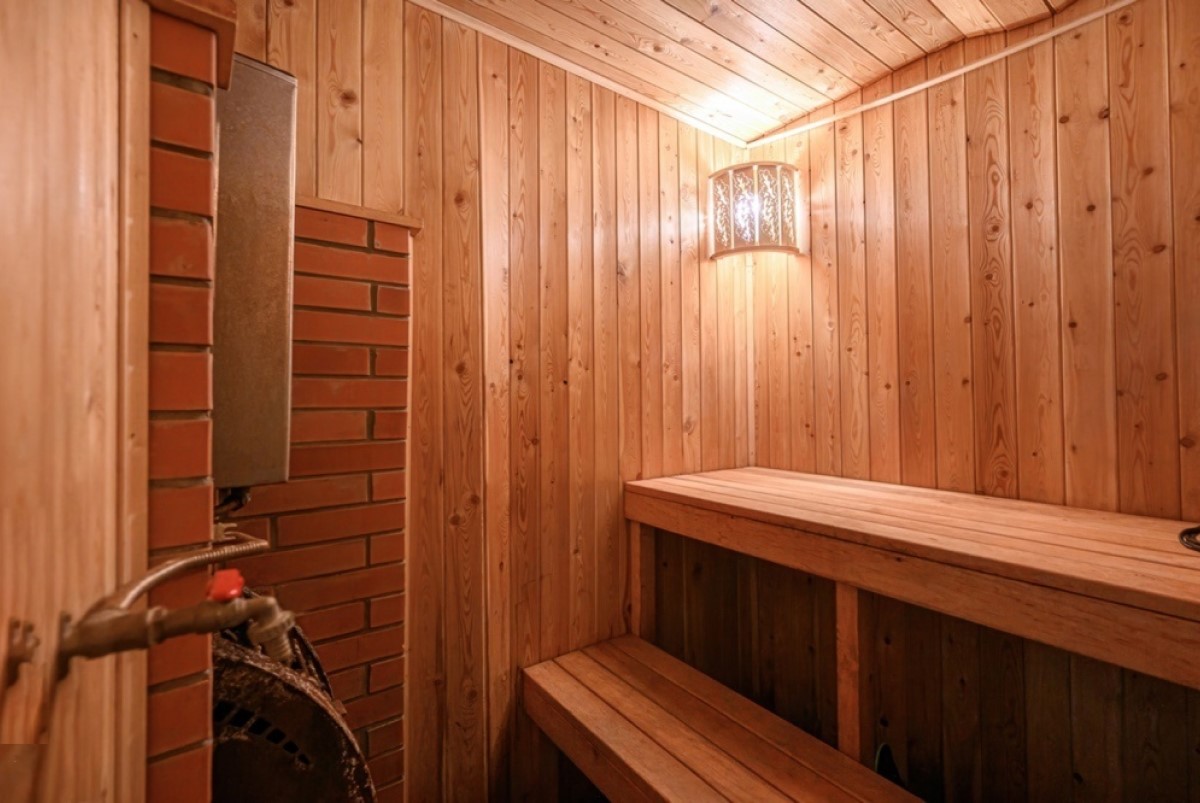
Knotty pine paneling has been a traditional wall material for centuries and is still trending in many home styles. Trims are installed at the tops, bottoms, in corners on walls, and around doors and windows to finish the job. All are stained a beautiful color for your home decor.
Installing knotty pine trim is not rocket science, but it takes planning and skill to order the right types, amounts, install, and finish the woodwork. This article provides some helpful advice for taking on the job yourself or understanding how a carpenter does the work.
Overview Of Installing Knotty Pine Paneling Trim
First, measure the amount of trim you need, determine the various styles, and where they will installed. Purchase them, and once they arrive, put them in the rooms where they will be installed to let them acclimatize for a few days. Next, measure and saw the trim pieces to the correct length, mitering or squaring the corners as needed.
Secure the trim with nails and a nail gun or use a hammer, nails, and a nail set. Ensure all trims are aligned with the paneling before inserting all the nails. Finally, fill any nail holes or joint gaps with a filler product, let dry, sand, and apply the finish. You may apply the stain before or after installation, or order pre-finished trims.
Knotty Pine Paneling Trim Preparation
 Spend enough time preparing for your project, and you will have a better experience. Leaving out some steps will require ordering more materials or redoing some of the work.
- Choose the Trim: Select the appropriate trim style and size for the application. Some pieces may need to be thicker or thinner, wider or narrower. Save a lot of time by purchasing all trims from the same supplier.
- Measure All Trims: Accurately measure all lengths of trims needed and buy a little more in case you need them. Make sure you account for any corners and angles.
- Purchase and Gather Materials: Purchase the trims, nails, nail gun or drill, wood filler, sandpaper in fine grit, stain, and brush cleaner, and have them ready.
- Temporary Storage: Allocate the trims to each room where they will be installed, and store them there for a few days to adjust to the temperature and humidity. This helps prevent the knotty pine paneling from limited warping and shrinking.
- Measure and Cut: Measure the length of each trim piece separately because some walls and door and window openings may not be square. Use a miter saw with a sharp and smooth-cutting blade to cut the pieces to the correct length and angle. Door and window corner angles are traditionally cut at 45 degrees, but you may want a different type of joint.
“Installing knotty pine trim is not rocket science, but it takes planning and skill to order the right types, amounts, install, and finish the woodwork.”
Knotty Pine Paneling Trim Installation
 Your work will be much easier when you saw each piece of trim accurately. TIP: Measure each cut twice before sawing the trim. Three finishing nails for short pieces of trim and five for longer pieces should be sufficient. Slender screws may be used in place of nails, and follow these basic steps for a successful project:
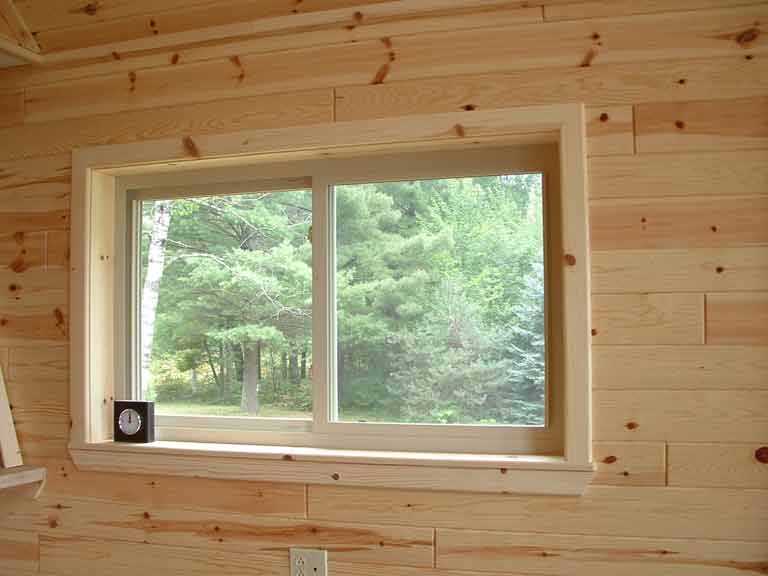
- Door and Window Trim: Start by installing the door and window trim, holding it securely, or letting another person hold it in place.
- Baseboards: Install the baseboards along the longest wall first to conserve material.
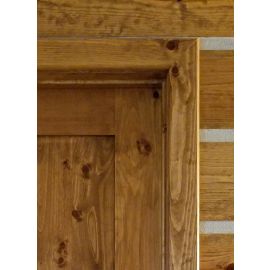
- Corner Joints: Miter the corners for a clean look, ensuring the direction of the miter cut is switched for each side of the corner. You may opt for square corners for simplicity. Gluing the corners will add more strength.
- Inside and Outside Corners: Inside and outside corners are available if you want them to cover gaps or add a decorative touch.
- Consistency: When installing trim around doors, maintain a consistent setback from the door jambs on all sides. Use a setup block to ensure uniform distances.
- Stagger Paneling Seams: When installing paneling, stagger the end joints of the boards to create a more visually appealing and structurally sound installation.
- Use a Rubber Mallet: It’s best to use a rubber mallet to tap trims into place for a snug fit and to protect them with a gentle tap.
Finishing The Trims
Nails are typically set below the wood’s surface and need filling. Check each nail head, and if it’s not below the surface, tap it in with the right size nail set. Fill each hole with high-quality wood putty that is stainable so it will match the wood’s stain color. Fill enough but do not over fill, and let dry.
Gently sand the putty with fine grit sandpaper, such as 100, 120, or 150, ensuring you don’t leave sanding marks. Wipe off the residue and evenly apply the stain of your choice with a brush or cloth. One coat is generally enough, and by the way, you can stain the trims before or after installation.
A Few Last Tips
You should consider pre-drilling holes to help prevent the wood trims from splitting when nailing. Allow for limited expansion and contraction of the wood, especially in areas with humidity and temperature fluctuations. Always wear appropriate safety gear, such as eye protection, when working with power tools. By following these steps and tips, you can successfully install trim on your knotty pine paneling, enhancing the beauty and character of your space.


